Onboarding & Account Setup
What's on this page:
Welcome to Swift! 🙌
This guide will walk you through everything you need to know to set up and start running like a pro. Ready? Let’s dive in!
Initial Onboarding
Your Onboarding Manager will walk you through much of the setup, but we’ve broken down the steps here to help you out along the way!
-
Setup Your Facility 🏢
- During the first step, you'll be asked to provide a facility name, country, and timezone.
- These are very straightforward, but it's important to note that as you create the facility name, you also have to create your booking URL. Initially, this is created based on what you input as your facility name, but you can adjust it during the initial setup process.
- This URL leads to your branded Swift booking page, where your clients will go to make bookings and purchases at your facility.
-
Create a Schedule 🗓️
- For the second step, you'll be asked to create a basic schedule for open & closed hours for your business.
- You can set them here, but you'll always be able to edit & update them later under the Schedules page.
-
One quick tip that we have for facility setup is to use the Copy Time function to speed up the process. For example, if your hours on Tuesday to Sunday are the same as your hours on Monday, click the "Copy Time" button next to Monday, and select all the other days to copy the time to.


Account Setup
After completing the initial onboarding, you'll now enter the Swift Admin dashboard.
💡 TIP: Be sure to bookmark the Admin Dashboard link (https://admin.runswiftapp.com) so you have it saved going forward. This will be the link you use every day to manage your business!
When you first open up this Admin page, you'll see four main tasks listed for you to complete. We'll walk through those steps here, as well as other aspects of the platform for you to check out.
Create Rooms:
Your first step will be to create "Rooms" - think of them as the physical spaces in your facility. We'll create a "Room" for each court, cage, field, or lane in your business.
Depending on the layout of your facility, you may need to "nest" Rooms inside each other. Visit the Rooms page to learn more about this concept.
Once you've created all of your Rooms, you'll see a layout of your rooms and facility on the right side of your screen. This can be used to help you build an intuition for setting up your services at a later date, and can be changed at any time.

Activate Your Plan:
Visit the Plan & Billing page to add a payment method on file, and subscribe to a plan.
This will activate your account, and allow you to proceed to the following steps.
⚠️ Note: To be ready to complete this step in your onboarding, please have a credit card on hand and allow a few minutes for your onboarding manager to assign your plan to you.
Connect Your Stripe Account:
An important step in the onboarding process is creating, and connecting your Stripe account. Stripe is our payments processor, and having an account will allow you to accept credit card payments online.
Visit the Payouts page to create your Stripe account. You'll also be asked for your bank account details during this process so that Stripe can issue payouts when they're available.
Here are a few tips that we have regarding the Stripe registration process:
- Select your business type carefully. If your business is an LLC, select "Company" to access additional options to choose from.
- When asked to verify your Stripe account, click the "Verify with text message" text at the bottom of the screen to simplify the process.
- When asked to pick your industry, search for and select "Recreational Camps." It's the closest industry that Stripe offers to what many of our clients do.
- Finally, when inputting your bank account information, always click "Input Bank Details Manually." It's a small link that can be found at the bottom of the page and is a much simpler way to move through the process.
Create Bookable Services:
The meat and bones of the onboarding! Here, you'll create the various services or "things" that people can book & pay for on Swift.
Your onboarding manager will likely tackle memberships first, followed by rentals, lessons, classes, and packages. You can visit the Services page for a full breakdown & explainer of each.
We've also added a sample video below to help.
Calendar and Availability:
Check out the Calendar to see your hours and rooms in action, as well as practice making events on the fly.
Visit the Availability page to practice adding and viewing instructor availability.
Update Your Facility Settings:
Visit the Settings page and select the appropriate tab to update other key items, such as:
-
Tax Rates: Decide if you'd like to collect tax when customers purchase services & products at your facility. Learn more on this page.
-
Custom fees: Decide if you'd like to pass processing fees, technology fees or any other fees onto your customers. Learn more about Custom Fees on this page.
-
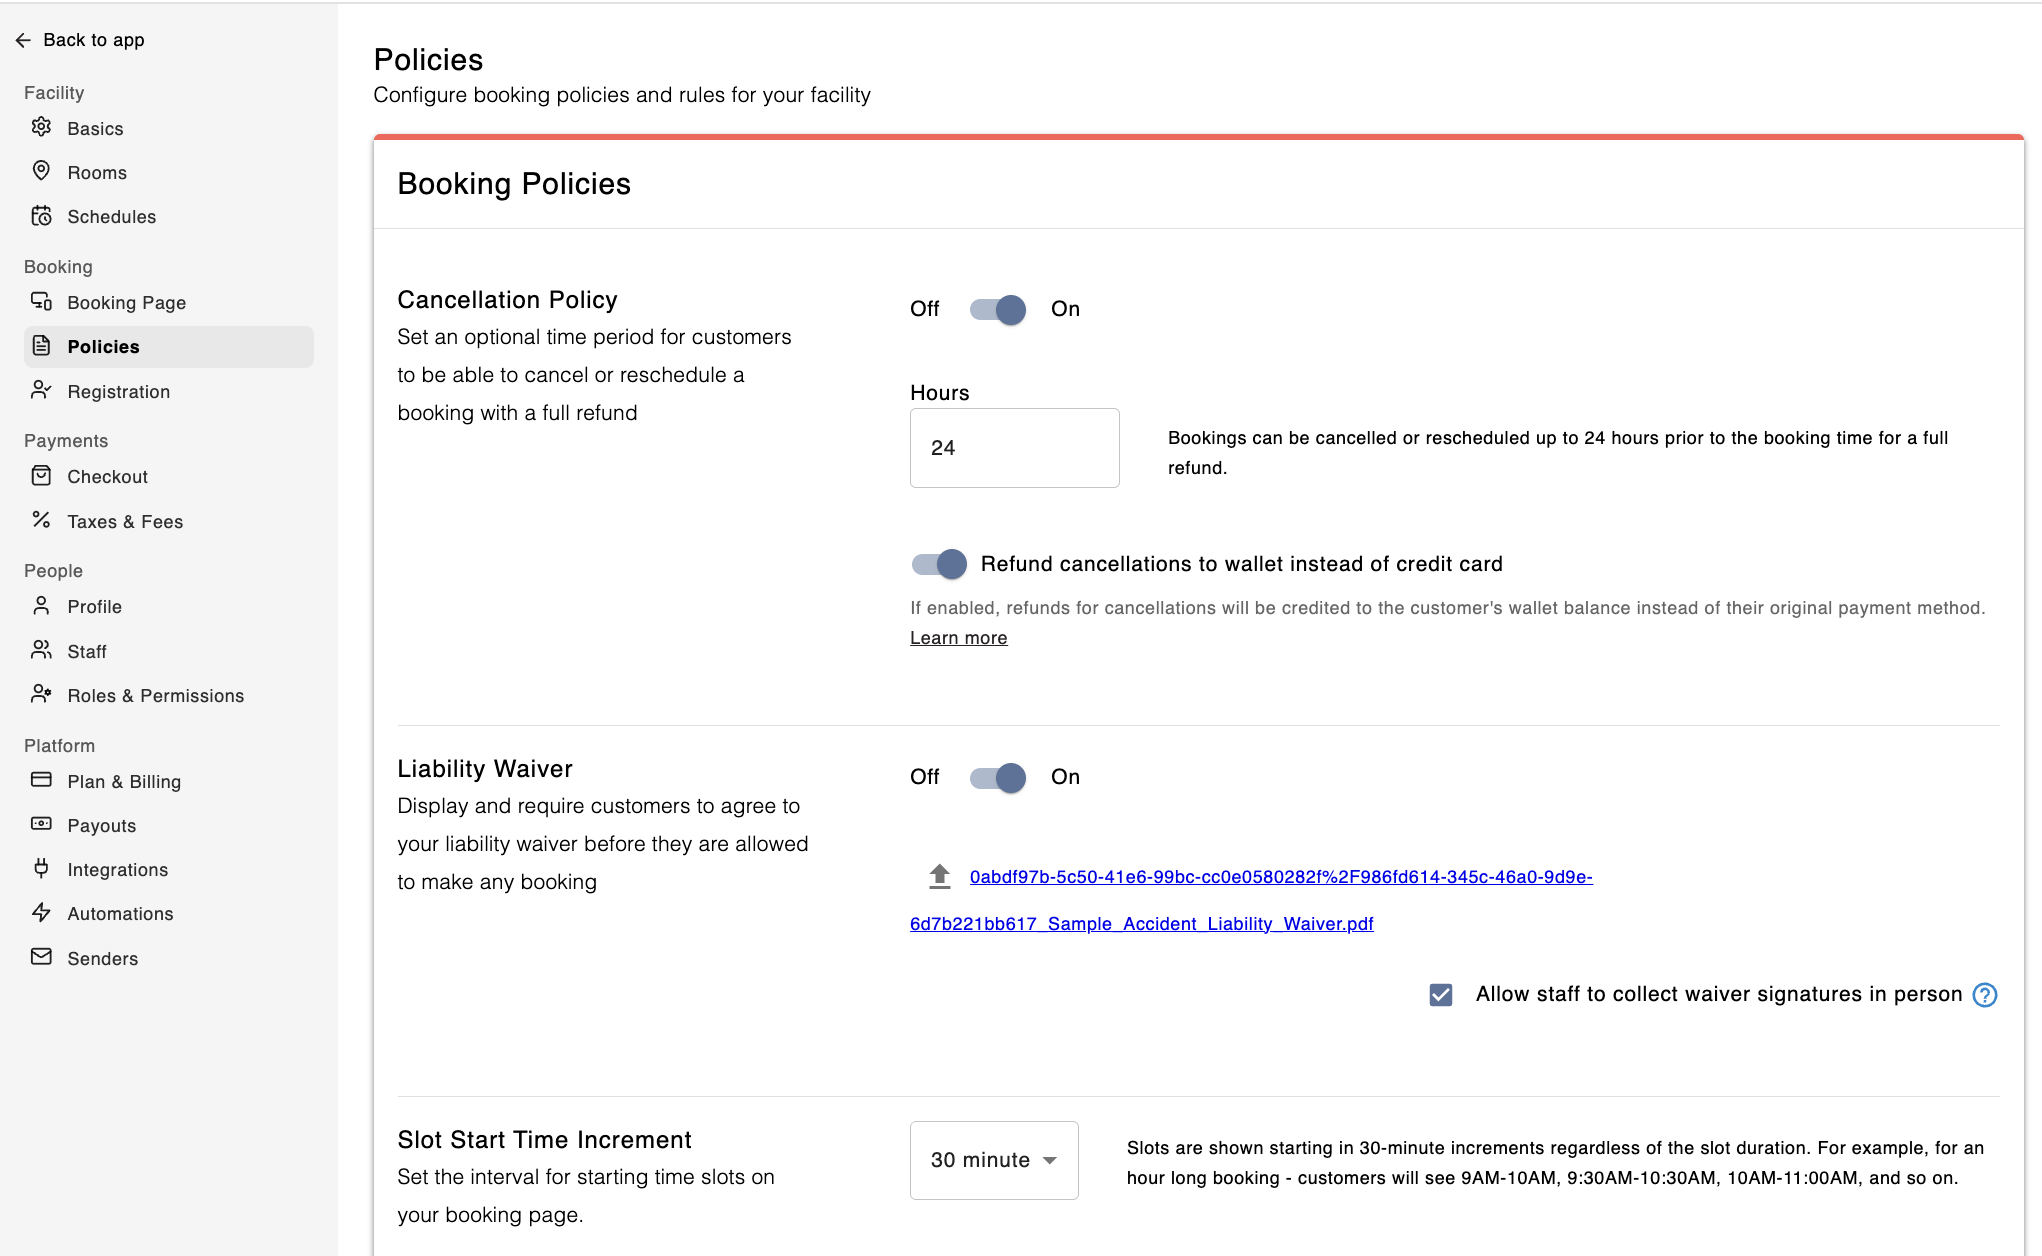
Cancellation Policy: Set a minimum number of hours before which customers can cancel and get a refund.
-
Liability Waiver: Upload your liability waiver so customers are required to sign & agree to it before making any bookings or purchases.
- Logo & Branding: Upload your logo & banner image, along with a description of your facility to guide new customers.
These items will all affect your booking page, allowing you to customize it to your heart's desire and give it a cleaner look!
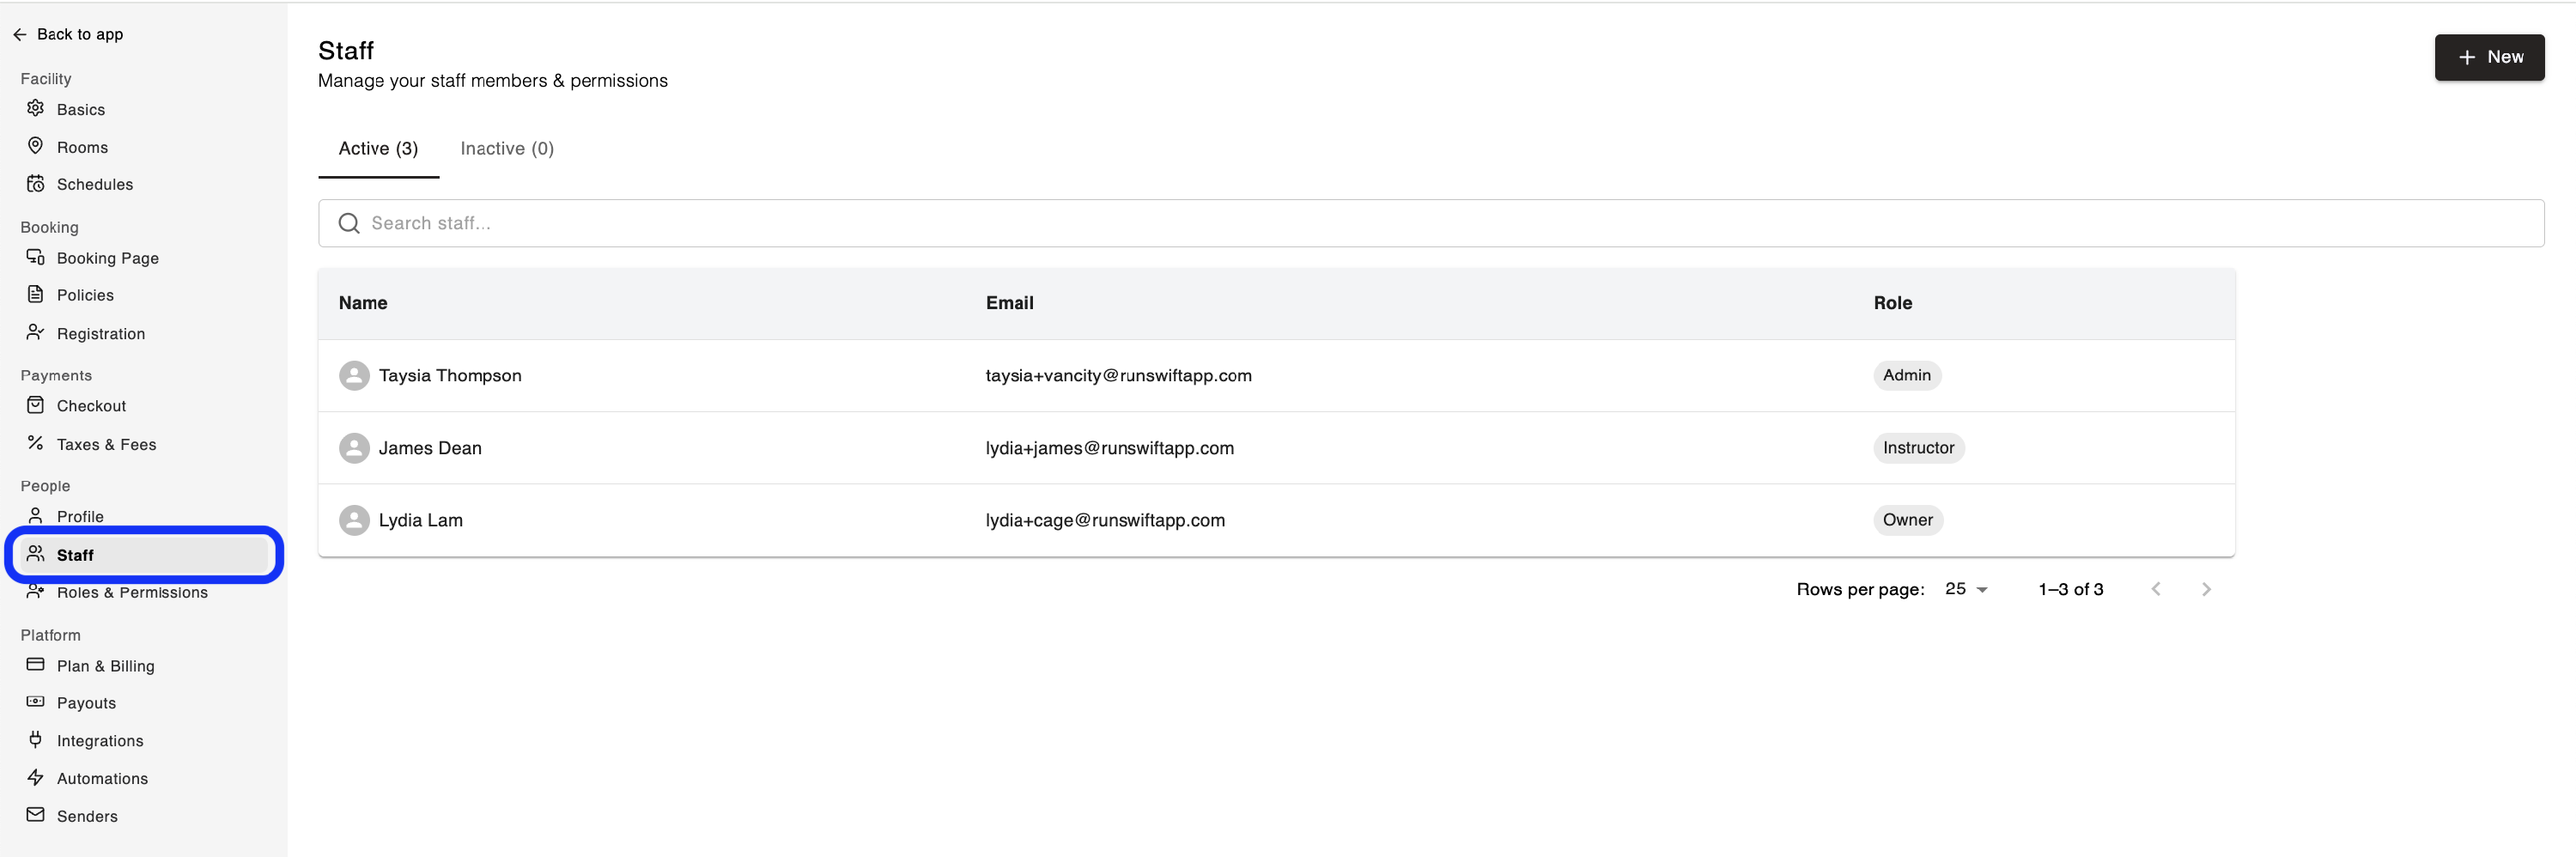
Add Staff Members (Optional):
At this point, a bulk of the onboarding process is now complete! You now have the option to invite other staff members (business partners, front desk, coaches & trainers, etc) to your account.
Learn more about this on the Staff page. It also includes information on setting their roles & permissions, which will control the level of access they have in Swift.
Add Verified Sender:
Add your own email address as a verified sender to ensure that automated emails + email blasts come from your domain instead of Swift's.
This ensures that any time customers reply to an automated email, it ends up in your inbox instead of ours.
That's a wrap! 🎉
Now that you’re set up, take some time to explore the Calendar and the Availability page, and making test bookings as a customer.
Good luck and welcome to Swift! 🚀